Add a property map to print on SalesPartner flyers. 
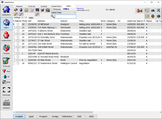
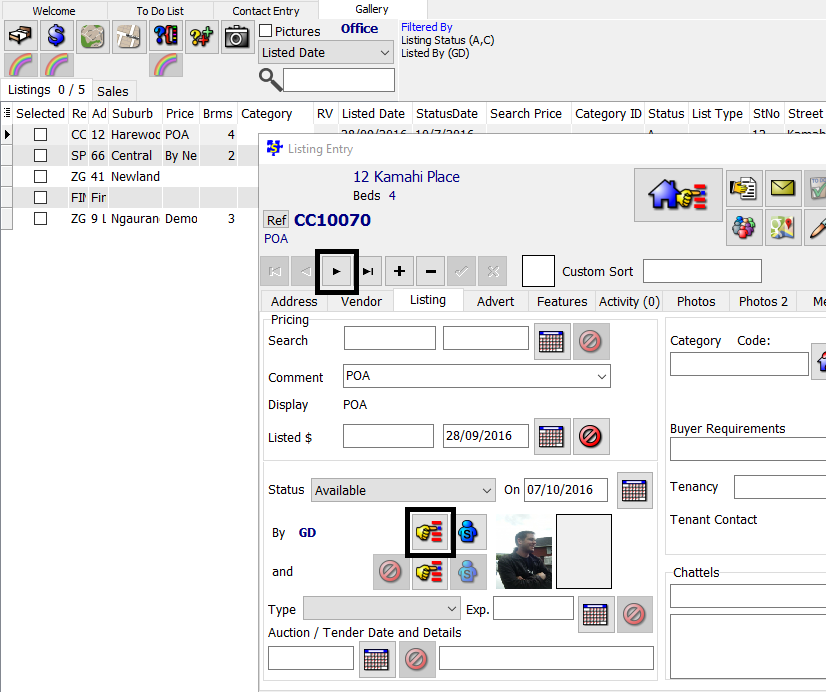
Open Listing Entry, or double click into a listing from the Gallery. 
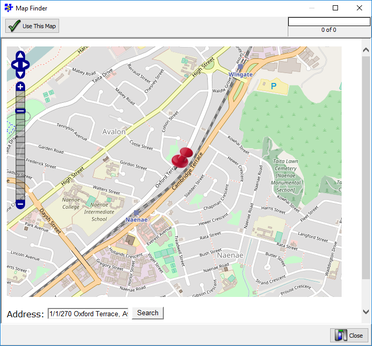
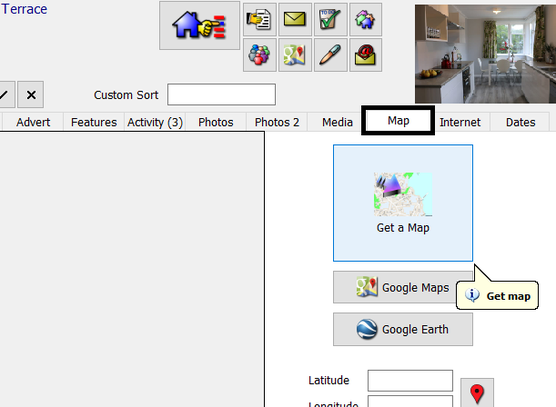
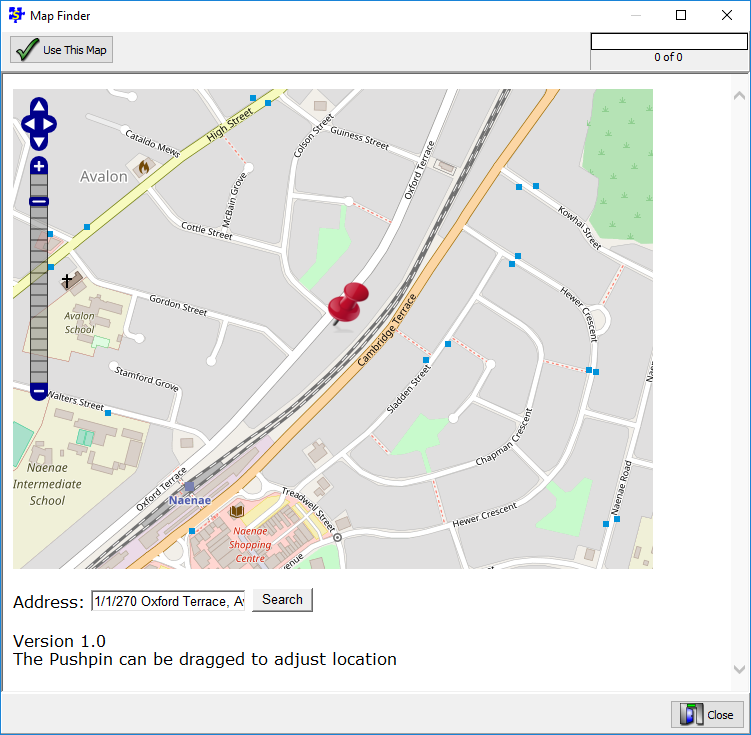
Click the Map tab, then click Get a Map. Drag and drop the pin to adjust the pin location. Drag and drop the map to move the map. Use the zoom tool to adjust scale. Click Use This Map to load the map into the listing. 
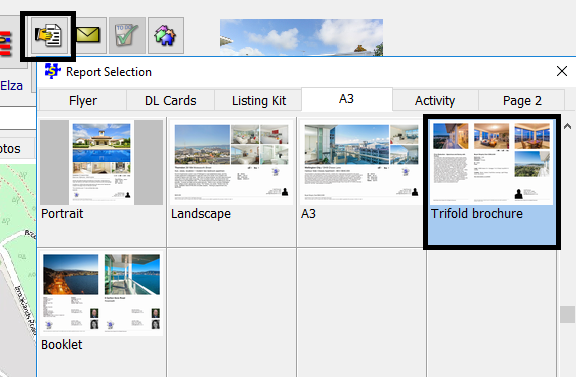
Try a report that uses Maps. In Print Reports (Ctrl+P) open A3 Tab, Trifold Brochure. 
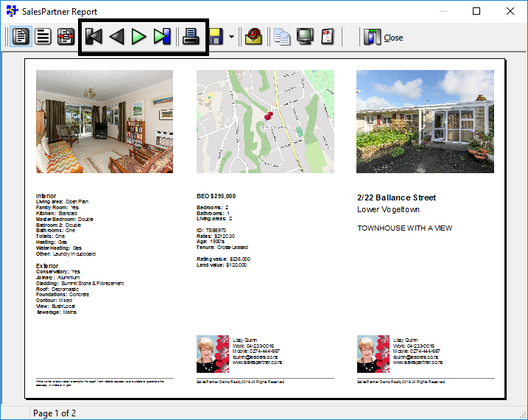
Note: the Trifold Brochure is double sided, use the green arrow to switch pages.
0 Comments
Various SalesPartner report/brochure templates use RichText elements. RichText elements usually include scripts like this: To change the font, double click into the RichText element. Select the desired font using the drop-down font menu. Click OK to proceed. How to: Edit Memo fonts Memo elements often also contain scripts. To change the font for a memo element, double click into the memo element. Click Font... Select an available font from the list and click OK to proceed. Tip: ignore the Colour selection - this is not applicable.
An administrator asks: "We've had a change in salespeople. We need to delete a salesperson and reassign their listings to a current salesperson. Can this be done as a bulk action?" Note: A Salesperson should not be deleted under these circumstances. Data such as linked contacts, activity and sales must be accurately preserved. The non-current salesperson's status should be updated in More > Settings > Salespeople > Office Details Tab Use the Lookup tool to find a salesperson. In Office Details tab, uncheck Current Agent (Display in Lists). Click the tick to save changes, then click Close to exit. Multiple listings cannot be reassigned to another agent at once. However, in the Gallery you can use the salesperson filter to display listings by salesperson. In Gallery, click Other Selections > By salesperson or branch Lookup or scroll to find the salesperson you want to filter, and double click their name, or select them and click OK. Now the gallery shows only the selected salesperson's listings. To reassign their listings, double click into the first listing. In the Listing tab, use the lookup tool to assign a different salesperson as the primary agent. Tip: Use the toggle arrows to navigate to the next property in the Gallery list and work your way down from the top.
If you are uploading properties to a SalesPartner weblink or webpage, errors can occur under certain circumstances and may cause listings to not upload. In this example, listings XXX223 and XXX228 are failing to upload. Let's examine each listing in SalesPartner for potential issues. The advert script for listing XXX233 contains an accent aigu in the text 'decor' which is not supported for weblink uploads. Replacing this special character with a standard character will fix the upload issue. The advert script for listing XXX228 contains an accent aigu in the text 'cafe' which is not supported for weblink uploads. Replacing this special character with a standard character will fix the upload issue.
Find out how to add a Sold banner to a property photo in SalesPartner. In Listing Entry > Photos tab, right-click the main photo and add extra images. Under Extra Pictures, click New and in Explorer navigate to C:\spartner\Pics1\MetaFiles Scroll down and select Sold, then click Open. Note: The Metafiles folder contains various .WMF (Windows Meta File) image files. Only .WMF image files are supported for photo banner overlay use in SalesPartner. Once you have added your banner overlay, you can resize it using your mouse. Select the graphic then hover over the corner to show the diagonal arrows. Drag & drop to enlarge the size of the banner. To delete an overlay use the Delete tool. Click Save to save or Close to abandon changes. Tip: Changes are permanent when saved. To create a backup copy of your original photo, in Listing Entry > Photos tab, right click the photo and select add to media. This will create a copy of the original photo in the listing's Media folder.
|
Admin
|