When you are editing report templates like 2 photo flyer, double sided you may need to temporarily adjust the page size to view the report bands and elements for the second page. In this walk-through we'll expand the report in edit mode so we can make changes to the Features layout, and then revert the report back to its original size.
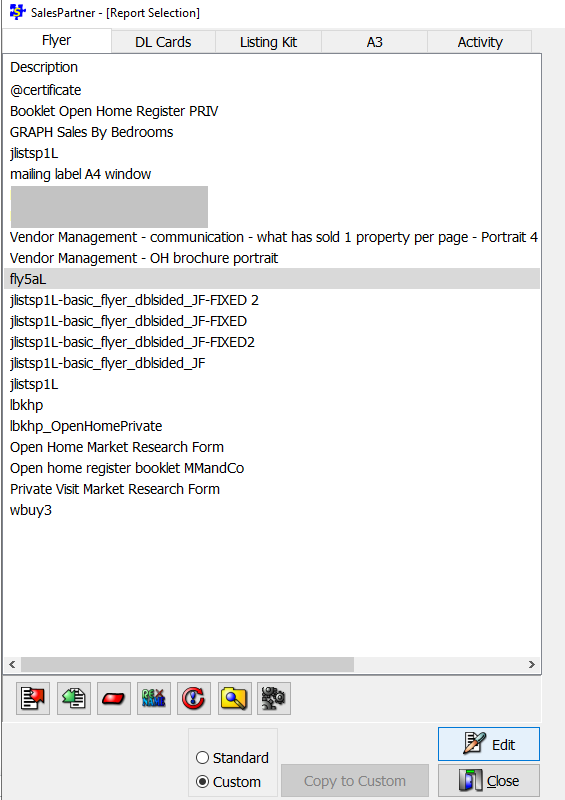
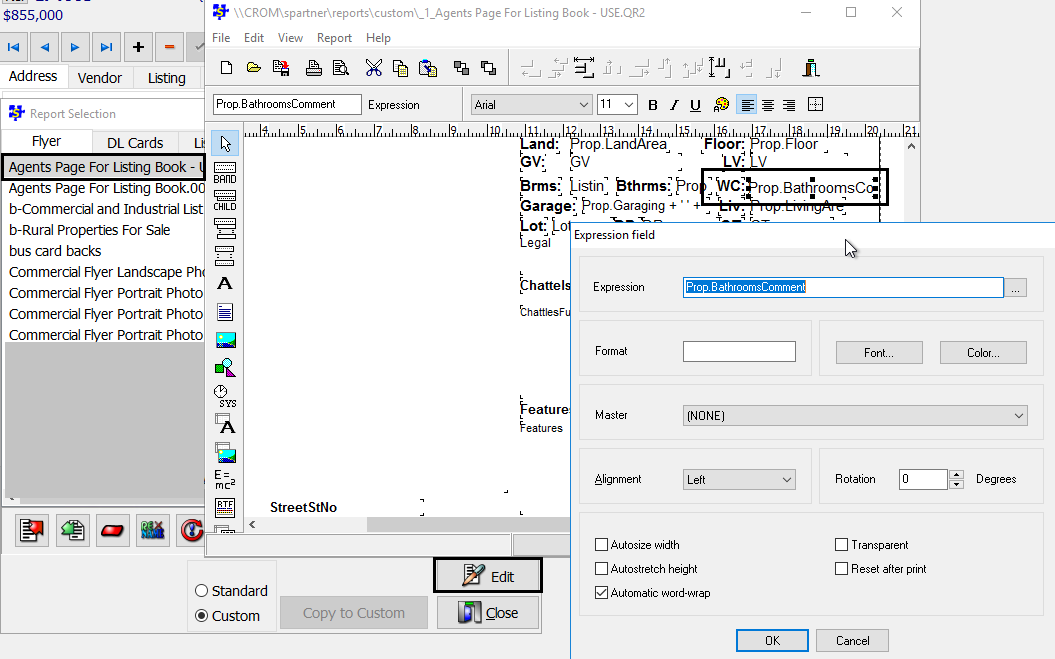
 Copy to Custom 
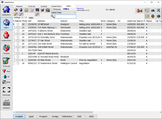
The first step is to copy the report into the custom folder so we can edit it. Open reports and select a template, then click Copy to custom. The custom folder will automatically open with your new template selected so that you are ready to click Edit. Note you can enter a report name in the prompt below. Select your new custom report and click Edit to start editing the template. Default view 
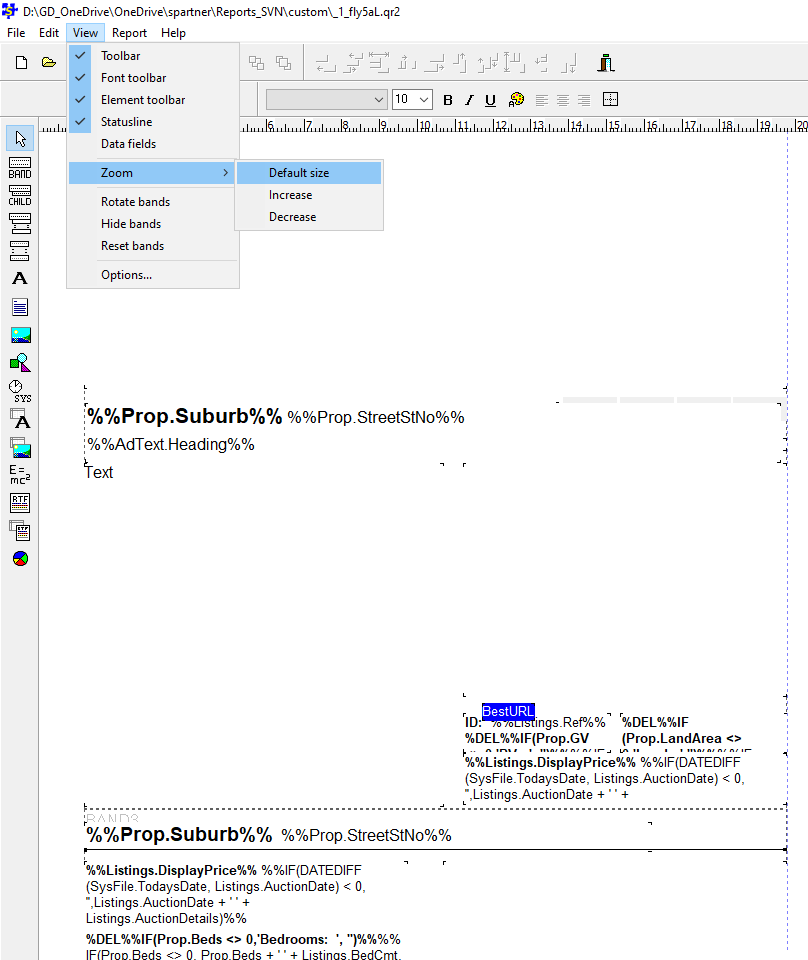
First click View > Zoom > Default size to view the template in the default zoom setting. At the bottom of the page we can see where the second page band begins. Next we'll extend the report layout to show the entire second page. Report Layout 
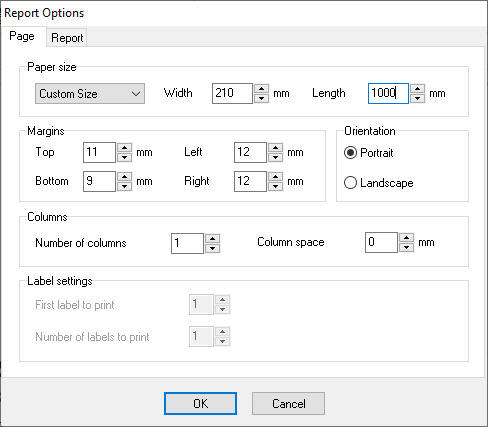
Open Report > Options... Drop down the Paper size options and select Custom Size. 
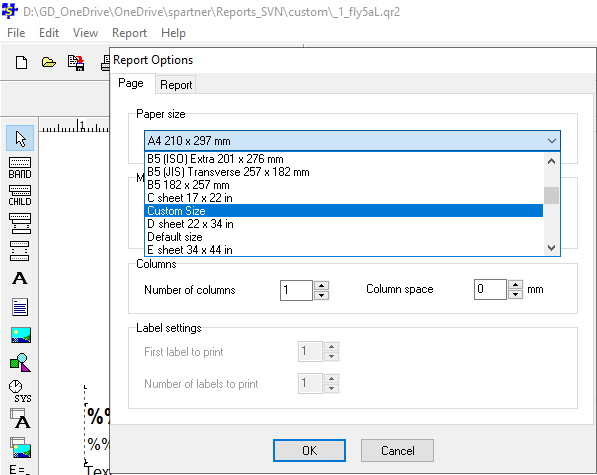
Now in Length enter 1000 to make the page long enough to temporarily display both pages so we can edit them. Once the changes are complete, we'll reverse the paper size back to A4. Click OK to continue. 
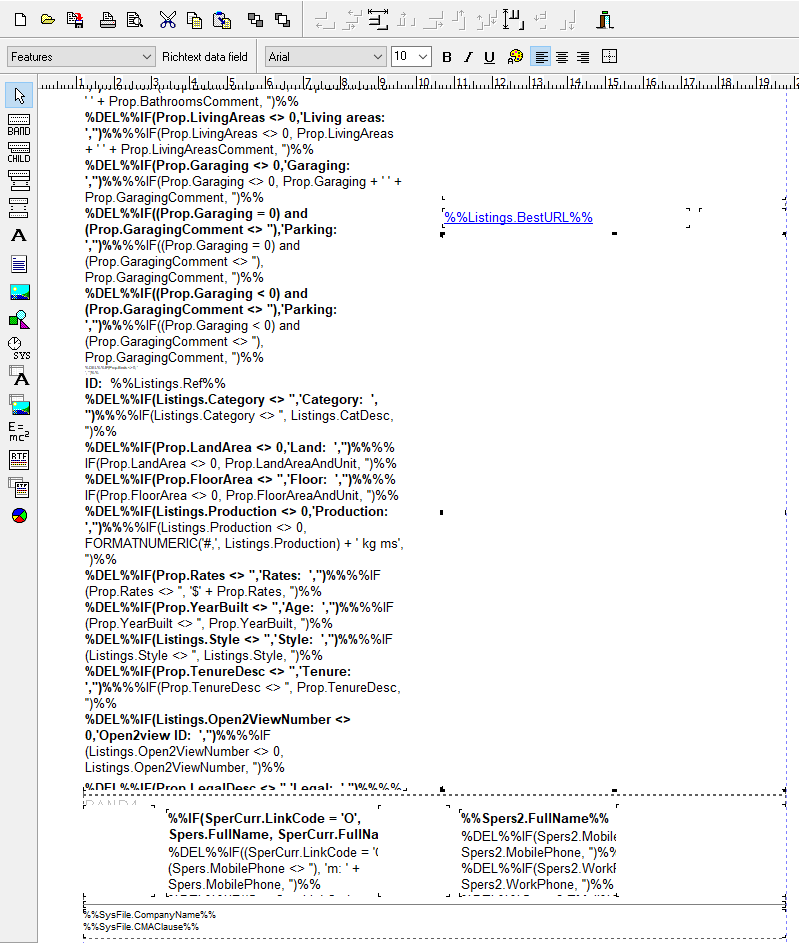
Now we can scroll down to see all of the elements and scripting for the second page, along with the footer content for both pages. Note: The height of the footer band should not be expanded because it is calculated to fill two pages exactly.
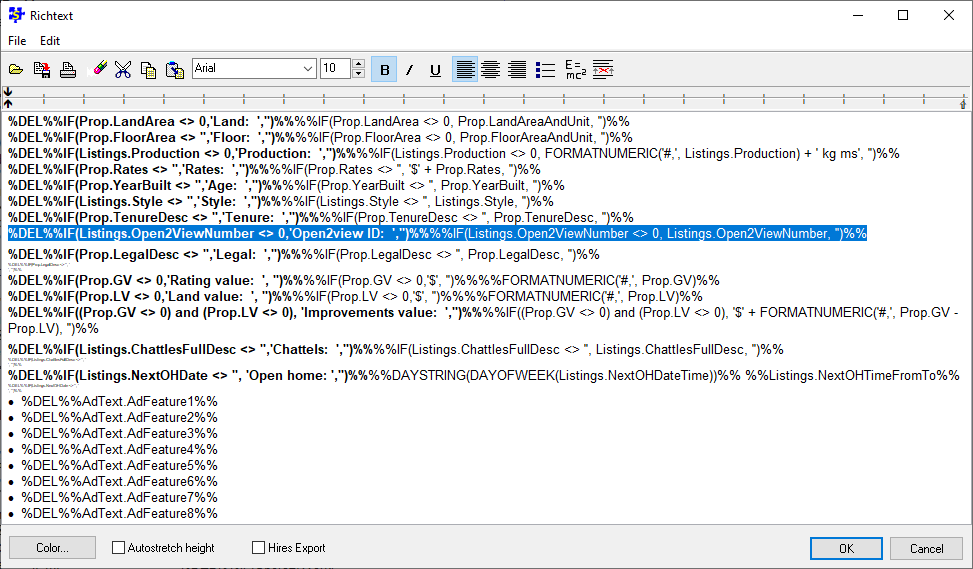
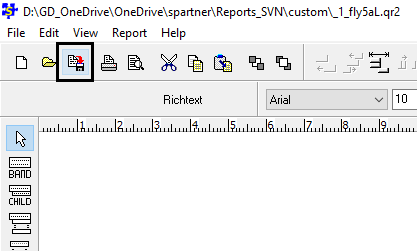
 Editing Richtext Most of the second page is comprised of two main Richtext memos filled with expressions. There is one expression per line, to display Rates for example in a specific format or syntax such a dollar symbol, along with a bold label. However each line is only published if relevant information has been entered into SalesPartner. Empty fields are not shown, so if the rates have not been entered, then the rates label will not appear on the report. 
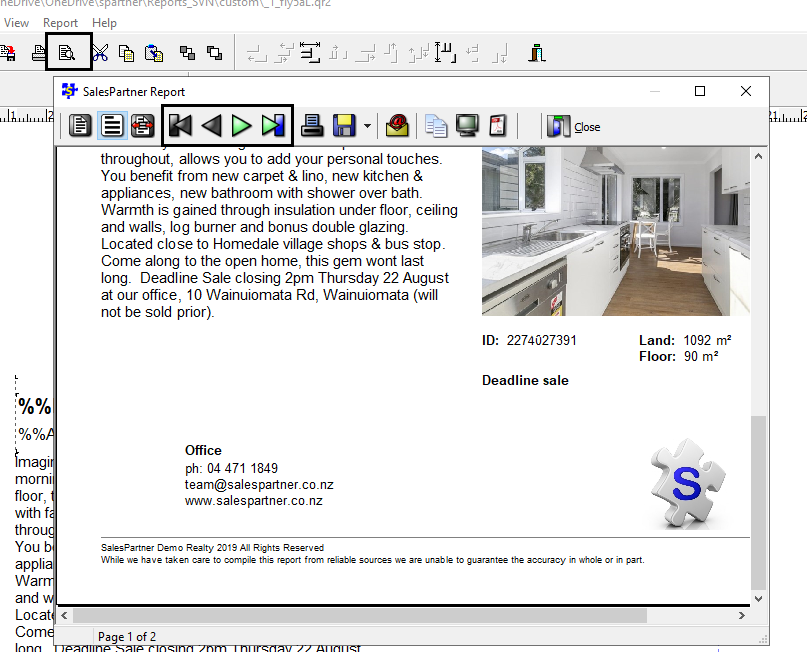
You can preview a report with an extended layout. However the footer and page breaks will not publish correctly until you reinstate the original paper size layout of A4. Open Report > Options, and drop down the paper size menu to select A4. Now when you preview the report, the page toggle buttons will be enabled so you can view the second page. Click Save to save your custom report template before closing out of edit mode.
0 Comments
Follow this guide to install or reinstall SalesPartner. A reinstall should be undertaken if the spartner folder is present in C:\ but the application is not available for any reason. The install process will ensure that critical background components are set up. Down load and run SalesPartner install from the downloads page: The install wizard will open, click Next several times and then install to proceed. When prompted, click OK to install the BDE engine. Click Yes to the drive space warning, then click OK to create the directory. Click Finish to enter your registration details. For the next step you'll need to have your SalesPartner license information handy, unless you're installing over the top or where a previous installation existed - in which case the registration is normally remembered automatically. Always select Standalone installation type and click Next. If you're installing a client on a network, the paths should be configured after the install is completed. Enter your registration details now. Note: The Company Name, Agent Code and Your Name fields are case sensitive - they must match your license exactly or you will not be able to Register Via Internet and obtain a valid registration number. The Franchise can be left blank. Once you have received a valid registration code you can click Next. Fill out the contact information only if you are installing SalesPartner from scratch. If you are going to restore a backup, or if you are reinstalling SalesPartner, then skip this screen by clicking Next. The email smtp settings should be reviewed via More > Settings > INI Settings > Email, after the install is finished. Follow the wizard prompts to click Next, then Finish. Update SalesPartner SalesPartner must now be updated to the latest version using the update link from the top of the downloads webpage: Click Next then Install to continue. Check that Update Datafiles is ticked, then click Finish. Click Yes to upgrade your data files. Wait for the data-file upgrade to finish before continuing. If applicable, restore a backup via SalesPartner Utilities > Offsite Internet Backup > Login, select the most recent backup and click Restore (ensure SalesPartner is closed before you restore a backup). Open SalesPartner > More > Settings, and view Salespeople and INI Settings to check the system configuration.
Version 14.0.35.0 supports individual REAXML uploads via Listing Entry. This means you can send through listing changes on the fly to portals like Oneroof, Homes.co.nz, and Neighbourly. The new upload button is in Listing Entry, under the Internet tab. Only REAXML compatible templates are available via Listing Entry, to ensure you don't upload an incomplete file to portals like Realestate.co.nz. Realestate.co.nz uploads must be sent from the Gallery.
A subscriber asks if it is possible to import the listings from their satellite office which has a separate Realestate.co.nz office ID. Yes, you can simultaneously download Realestate.co.nz listings from multiple branch offices by separating each office ID code using a comma. Firstly lookup an office's listing, then click on the Listings link in the office profile to view all of the office's listings. Now examine your internet browser URL or address bar and copy the office ID number as pictured below: In SalesPartner open More > Import Data > Realestate.co.nz > Multiple Listings, and enter your extra office code using a comma to separate multiple codes. The office listings will be listed in sequence, corresponding to the order you entered the codes. Your codes will be saved for future downloads, and you can enter up to six different comma separated office codes.
For a custom listing book report, there was a label for WC but it was unclear which field in SalesPartner this related to. While inspecting the report in edit mode we found that the Bathrooms Comment field was the corresponding field for the WC label. The bathrooms comment field is next to the number of bathrooms box in Listing Entry, Address tab. The comment field is a short text box where you can add bathroom details in short hand e.g: Sep Shower, Spa, Ens, Infinity, etc. In Reports click Custom and select the report. Click Edit and locate the merge field, double click to inspect the field and view the expression.
|
Admin
|