- Enter your text in the Add Text field.
- Use Select Font to choose your text colour and size,
- Then click Add Text.
Q: Can I overlay text on a photo in SalesPartner? A: Yes, you can right click on a photo and open Add Extra Images which supports adding text manually. 
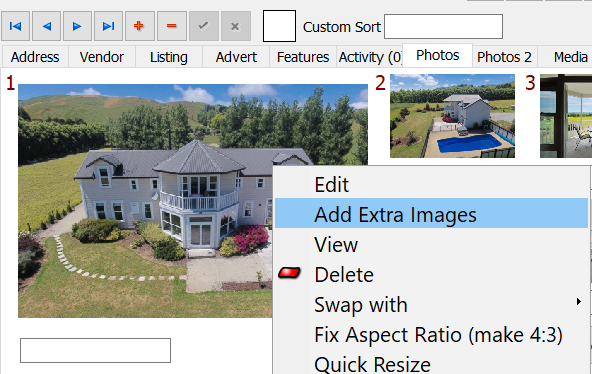
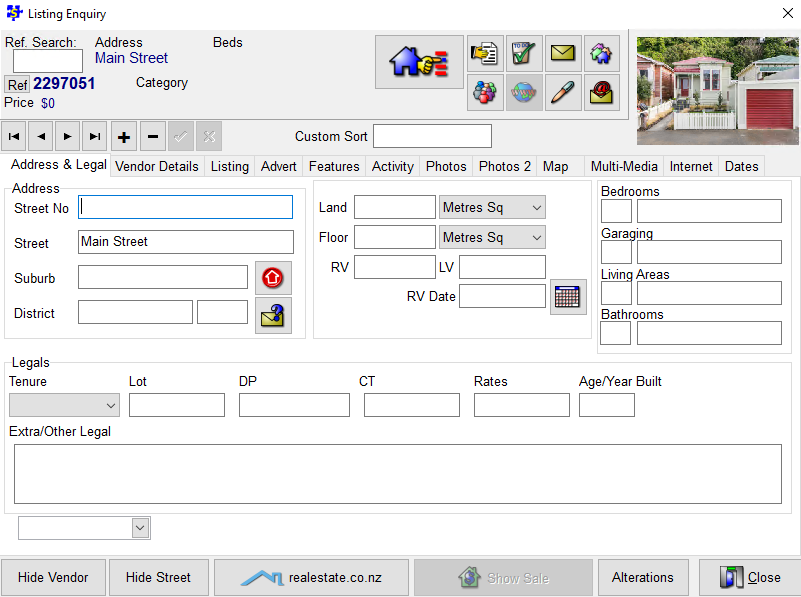
In Listing Entry > Photos tab, right click a photo and open Add Extra Images. Tip: Before editing a photo, right click and Send to Media to create a backup copy of the original photo in your media tab. 
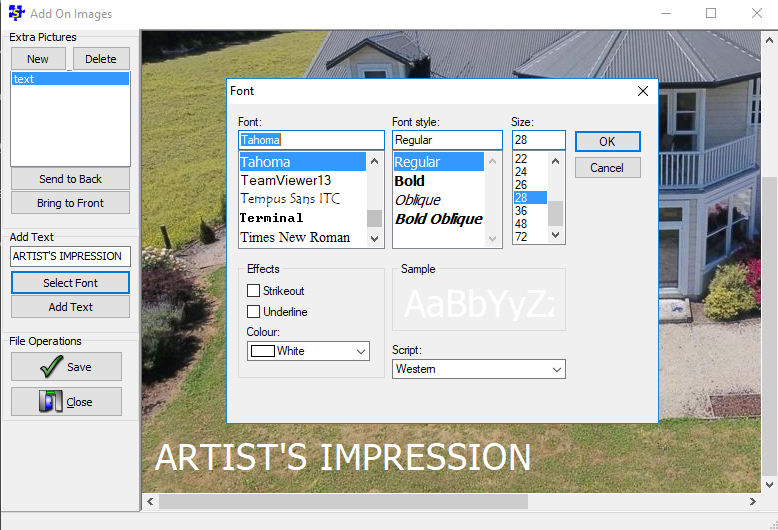
Delete / manage text elements using the Extra Pictures options in the top left. Click Save to continue.
0 Comments
On a salesperson's copy of SalesPartner, clicking into Groups in Contacts produced this error Failed to png load image. The group icons also looked unusual. In Settings > Groups, the table is visibly broken, when it is compared with a known good copy. First we clicked Fix Problems to try and solve issues automatically. Then we reinstalled the latest SalesPartner update. Finally we compared the broken table with a known good table using Old Editor and noticed a row which didn't belong. Only one group category should exist per Group ID - in this example there are two categories for GroupID #80. The solution was to delete the Active buyer type row. This error was reported in version 14.0.21.0
A hazard notice has been added to the standard open home register template. You can find the template in reports under the flyers tab in Listing Entry as well as via the Gallery.
You can setup Synchro Server to synchronize listings, contacts, and activity to other copies of SalesPartner. Synchro Server is typically deployed on an office workstation or virtual machine so that salespeople can sync changes to their local copies of SalesPartner. Step 1. Install SynchroServer Your server PC must be running SalesPartner, but does not have to be the data server. For example, an office PC which runs SalesPartner from a shared Network Accessible Storage device can also host SynchroServer. Install SynchroServer from http://salespartnerdownloads.weebly.com/ Click next and yes to the defaults and click Allow access when prompted to create a Windows Defender Firewall rule to allow Embarcadero Socket Server. Copy the SS_GUID notepad hex key. Open System Tray, right click Socket Server, open Properties. Click Ports > Add to create a new port rule 212. Paste the hex key into the GUID field for rule 212. In Thread Cache Size enter 90. Click Apply and close Socket Server. Step 2A. Test SynchroServer on your local network On the PC where you have installed SynchroServer, open SalesPartner > More > Synchro > Show Settings, and Show Advanced. In Server Address type localhost. Click Log in. There should be no errors at this point*, and Advanced options should be enabled (Get letters / Salespeople etc.). In the System Tray confirm that one user is showing as logged into SynchroServer. *In version 14 or later, copy the FDConnectionDefs.INI file from [SERVER NAME]\spartner\ into C:\spartner\Synchro\ This will resolve catastrophic failure errors. Step 2B. Test SynchroServer from a salesperson's PC on your local network On your SynchroServer PC, find out what the computer name is. Right click Windows Start, open System. The name is your SynchroServer server address for local area network (office) connections. On a salesperson's PC, open SalesPartner > More > Synchro > Show Settings, and Show Advanced. In Server Address enter the SynchroServer PC name, click Log In. If successful, an error message like the one below should appear showing the agent's ID. This step creates a user account in SynchroServer Configurator on the SynchroServer PC so that you can grant permission for the agent to synchronize data. On the SynchroServer PC, open Synchro Server Configuration on the desktop. Find the new salesperson user account using their agent ID, then tick their checkbox and click save. Close Synchro Server Configuration. The salesperson's PC now has permission to synchronize. On the salesperson's PC open SalesPartner > More > Synchronize > Show Settings > Modify Server (to modify the default server address and settings). Enter the server address and choose your preferences, then click Save and click Synchronize. Tip: For an initial sync, you can change the Days to go back to 180 or more so that historical data is transferred. Step 3. Synchronizing Remotely To allow salespeople to synchronize from outside the office network, you'll need to create a network address translation / port forwarding rule in your office router. Router / endpoint configuration Configure your Router / Network Security settings to allow TCP Port: 212 In this example we've configured a Network inbound security rule for a Microsoft Azure virtual machine. If your Windows Server is on premise, you can configure your router NAT / Port Forwarding rules - a static IP is strongly recommended. Once you've configured your rule, in PowerShell use Test-NetConnection [address] -port 212 to remotely test connectivity using either your public IP address or a DNS address (if available). Test-NetConnection <URL> -port 212 Add a (remote) SynchroServer address in SalesPartner Salespeople will need to add the remote Synchroserver address in SalesPartner. Open SalesPartner > More > Synchro > Add Server Enter a name for the server, and click OK. Drop down and select your new Server, and click Modify Server to enter the server address and preferences.
|
Admin
|