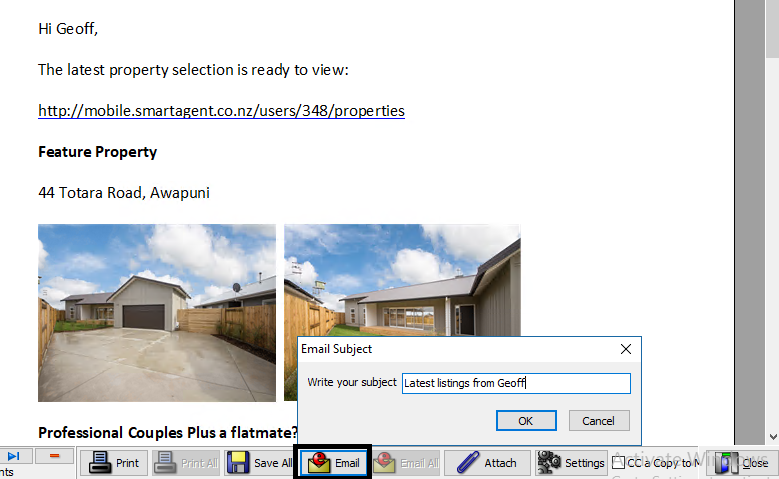
If your SalesPartner web-link has been installed, we'll create an email template that includes a feature property. The feature property is displayed in the body of the email and is merged from SalesPartner. Part 1. Update your web-link 
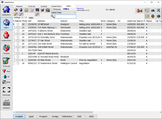
Your web-link is a personalised webpage where you can upload listings from SalesPartner. To update the listings, open the Gallery. Tip: Synchronize or import the latest listings first. When you update your web-link, your selected listings will overwrite your previous upload. 
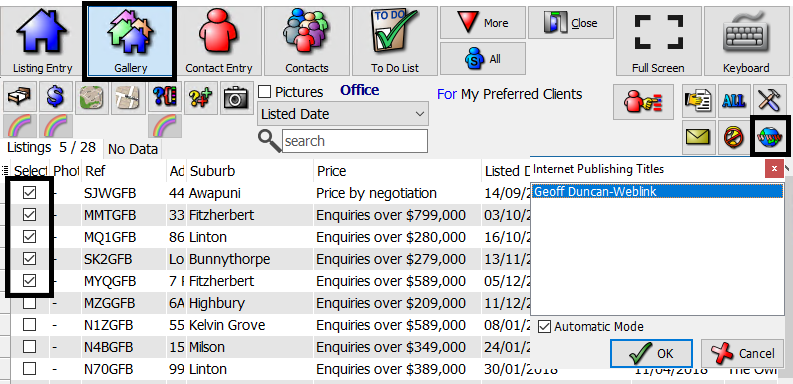
Select listings to upload by ticking the check box in the far left column. Listings are published in the order they are selected. Click Upload (the globe icon in the top right corner), then click OK to continue. When checked, Automatic Mode streamlines the upload process and skips confirmation prompts. Wait for the upload to complete before continuing. The time taken will depend on the number of selected listings and photos, and your bandwidth. 
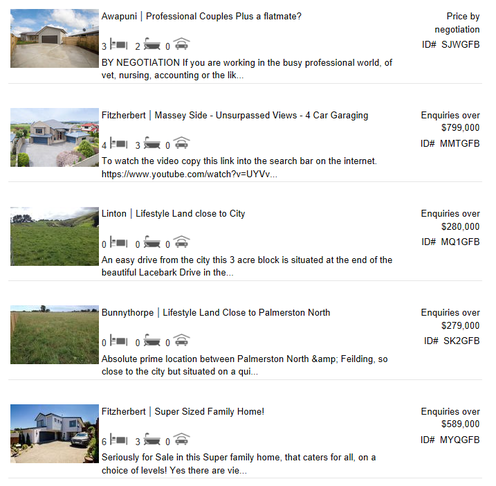
When we setup your web-link, we'll add a desktop shortcut to view the URL so you can check that the listings have been published. Part 2: Emailing 
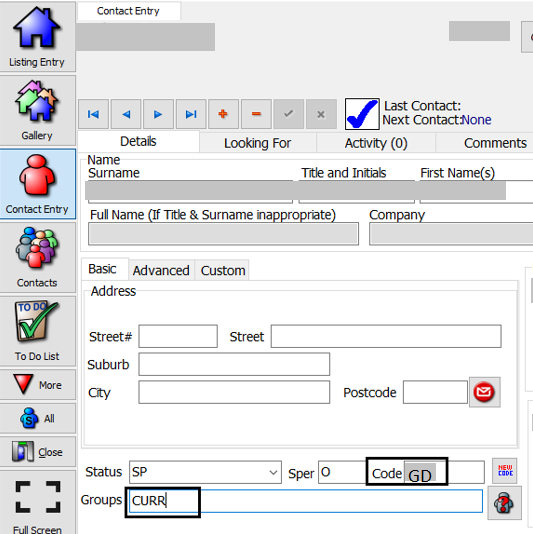
Tip: Add yourself as a contact via Contact Entry so you can send yourself a test email. 
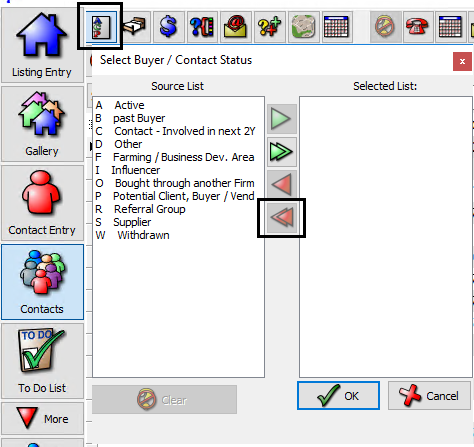
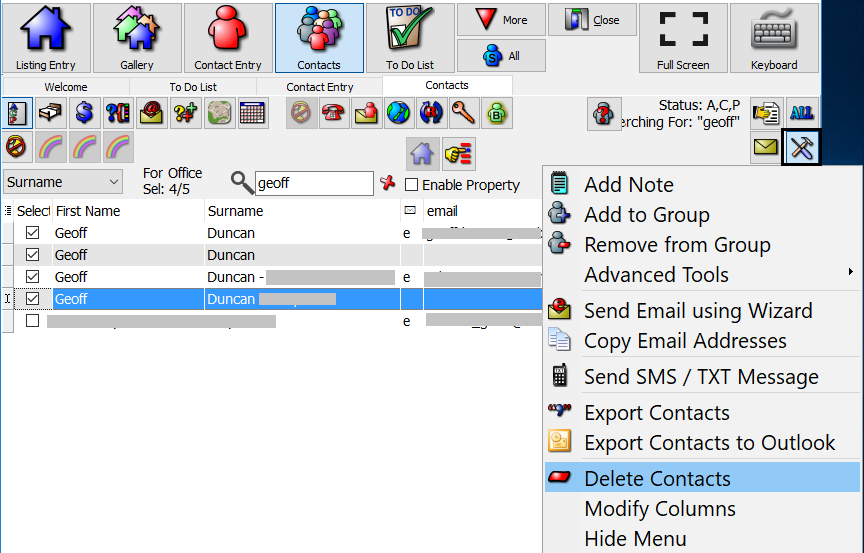
Open Contacts and select the contacts you want to email. 
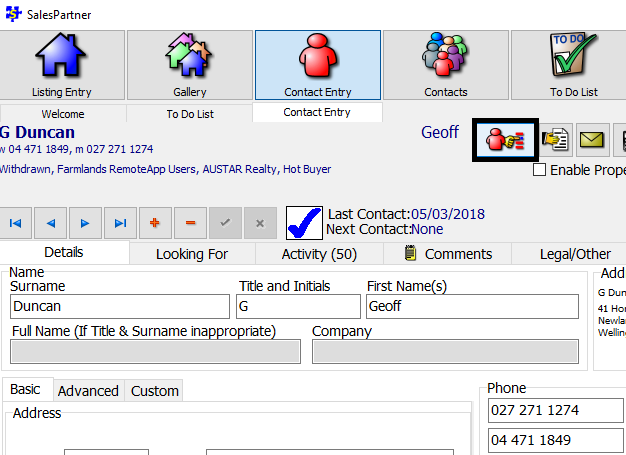
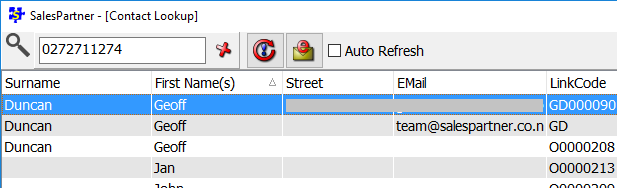
Click Enable Property and use the Lookup tool to find your Feature Property by street name or listing reference. 
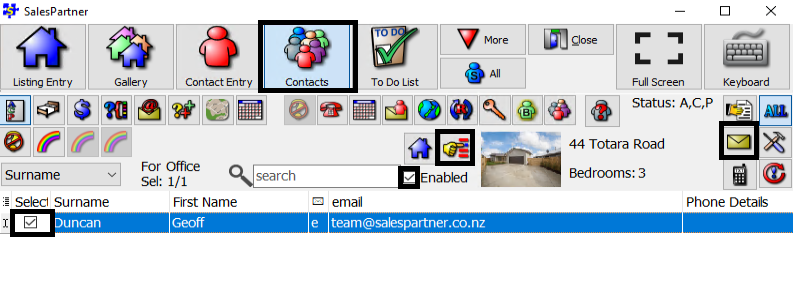
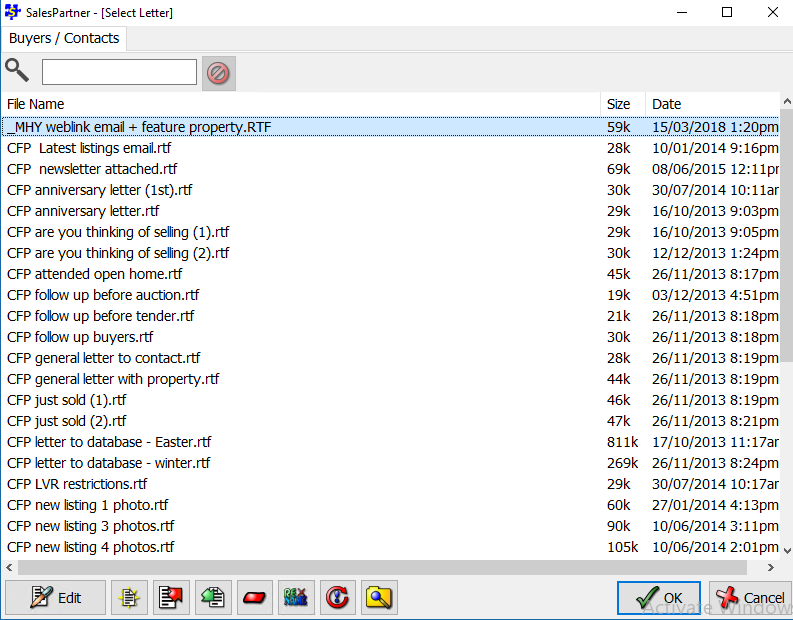
Click on the Envelope in the right corner to select an email template. Your personalised web-link email with feature property template will be at the top of the list. Double click on it to open. Click Email to enter your subject, then click OK to send. Can't find your web-link / email template or URL? Contact us to get it sorted.
0 Comments
If you are running a SalesPartner office License and uploading listings to Realestate.co.nz, you'll need to enter your Realestate.co.nz office ID. Open More > Settings > INI Settings > Listing Entry Tab. Enter your office ID into the Realestate.co.nz office ID field: Restart SalesPartner to apply changes. If you are insure of your office's Realestate.co.nz ID, please email info@realestate.co.nz to confirm. See also: www.salespartner.co.nz/news/troubleshooting-open-homes-on-realestateconz-openhomecsv-errors Note: A multi branch office can upload against multiple office codes from a single copy of SalesPartner by leaving the INI setting blank and loading the office IDs against the salespeople profiles.
An office moved their production server to a new location. After configuring their new router to allow external Remote Desktop connections against TCP/UDP 3389, the connection was refused. It was discovered that the server's listening port for RDP had been changed. Once the network address translation was configured correctly on the router, the server allowed remote connections. To check your listening port for Microsoft Remote Desktop on Windows 10 Pro, open Settings > System > Remote Desktop (Enable Remote Desktop) > Advanced Settings. Alternative ports are used to support multiple Remote Desktop Connections. Read more on Microsoft Remote Desktop for Windows 10 Pro here: www.salespartner.co.nz/news/how-to-setup-remote-desktop-in-windows-10-pro Tips: To check your public IP address use checkip.dyndns.org/ To test your router configuration and Network Address Translation / port forwarding rules use portchecker.co/canyouseeme
On a copy which had recently converted from a salesperson license to an office license, the main screen salesperson menu did not show the expected agents. A salesperson must:
Then we located contact records where the status = SP. Having found the right contact record, we manually changed the contact's code to match their salesperson ID. Note that the New Code button is not expected to work in this scenario. We also manually entered CURR into the Groups field (Current Salesperson). Once SalesPartner was restarted, the recovered agent profile was correctly shown in the salesperson lookup menu.
You can delete contacts in SalesPartner individually via Contact Entry or in bulk via Contacts. Tip: To backup SalesPartner open More > Backup Now. In Contact Entry, click Contact Lookup to find the contact you wish to delete. You can search for contacts by name, phone, street, and email address: Click Delete and confirm to delete the contact permanently. How to delete multiple contacts: In Contacts, select multiple contacts and open Tools > Delete Contacts. Notes: When you delete a contact, you also delete their activity. If you want to delete a contact but wish to retain their activity consider changing the contact's status instead. How to change a contact's status: In Contact Entry > Details tab, drop down the contact's Status menu and select Withdrawn. Or in Contacts, select multiple contacts and click Tools > Advanced Tools > Change Status.
|
Admin
|